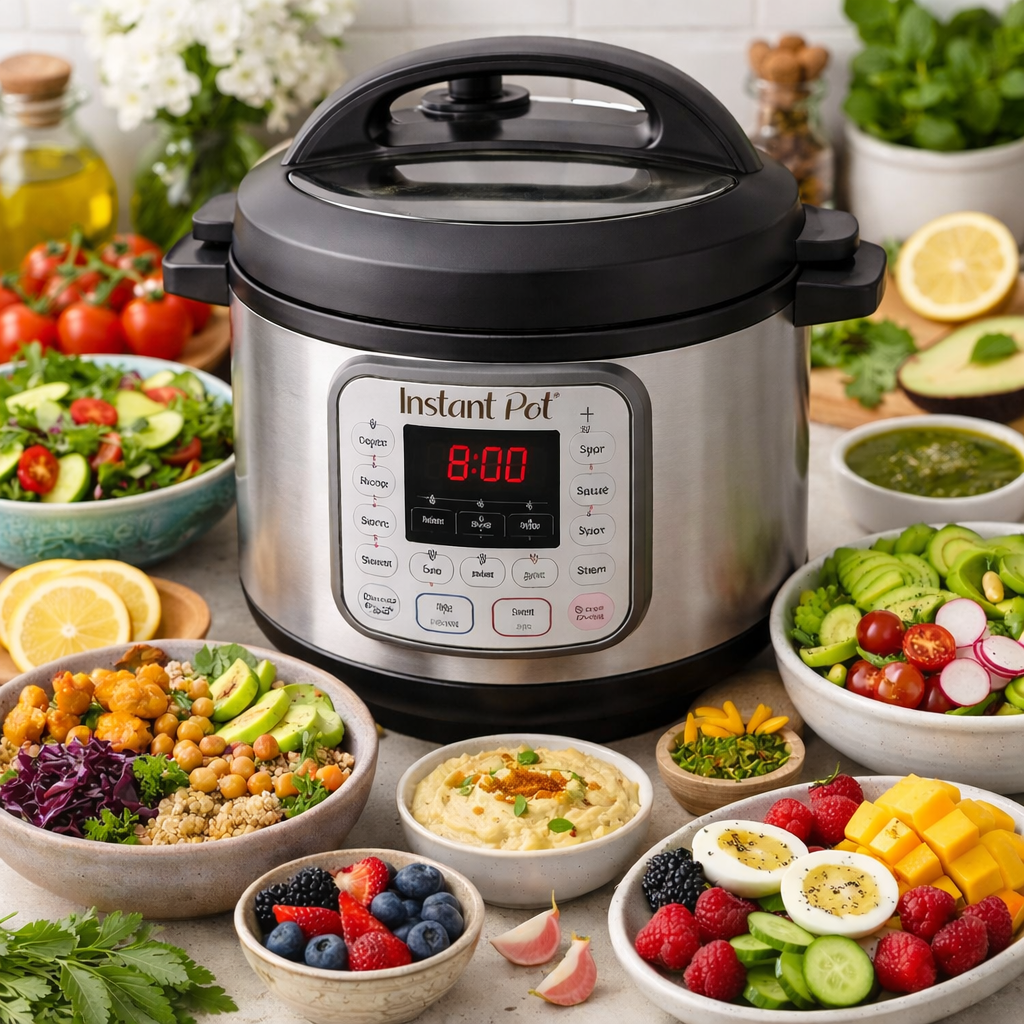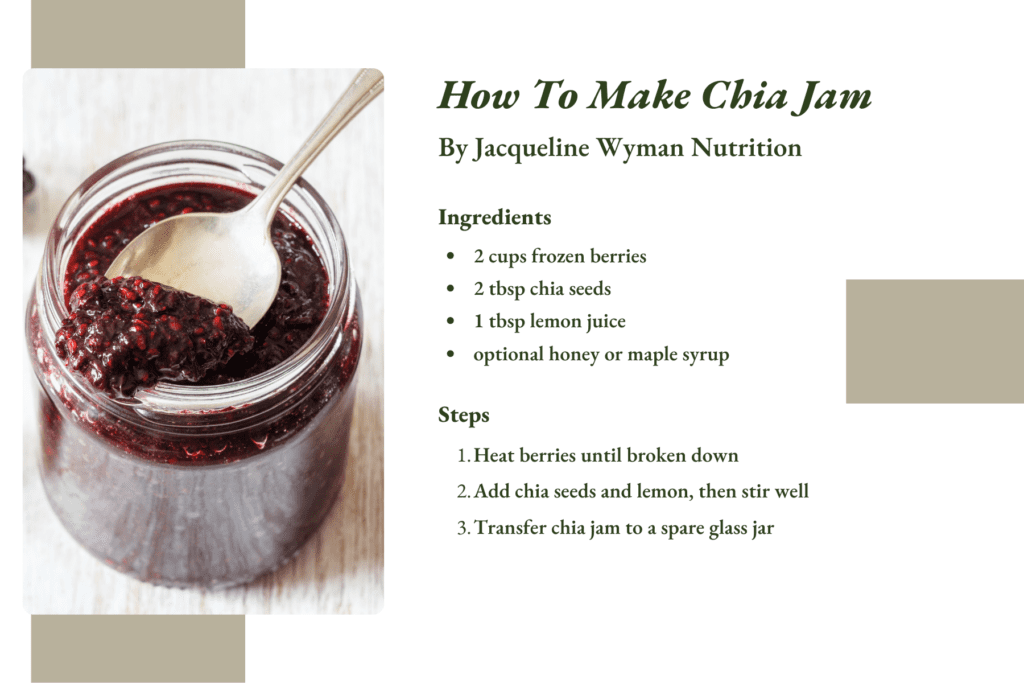
All About Chia Berry Jam
By Jacqueline Wyman Nutrition
Chia seeds have gained popularity over the years for their numerous health benefits. They’re packed with fiber, protein, and antioxidants, making them a superfood that’s easy to incorporate into your daily diet. One fantastic and delicious way to incorporate chia seeds into your meals is by making Chia Jam. This recipe is simple, quick, and requires just a few ingredients. Plus, it’s a healthier alternative to store-bought jams that are often loaded with preservatives and sugar. So, let’s dive right into the recipe!
Ingredients
Here’s what you’ll need to make this delicious and healthy Chia Jam:
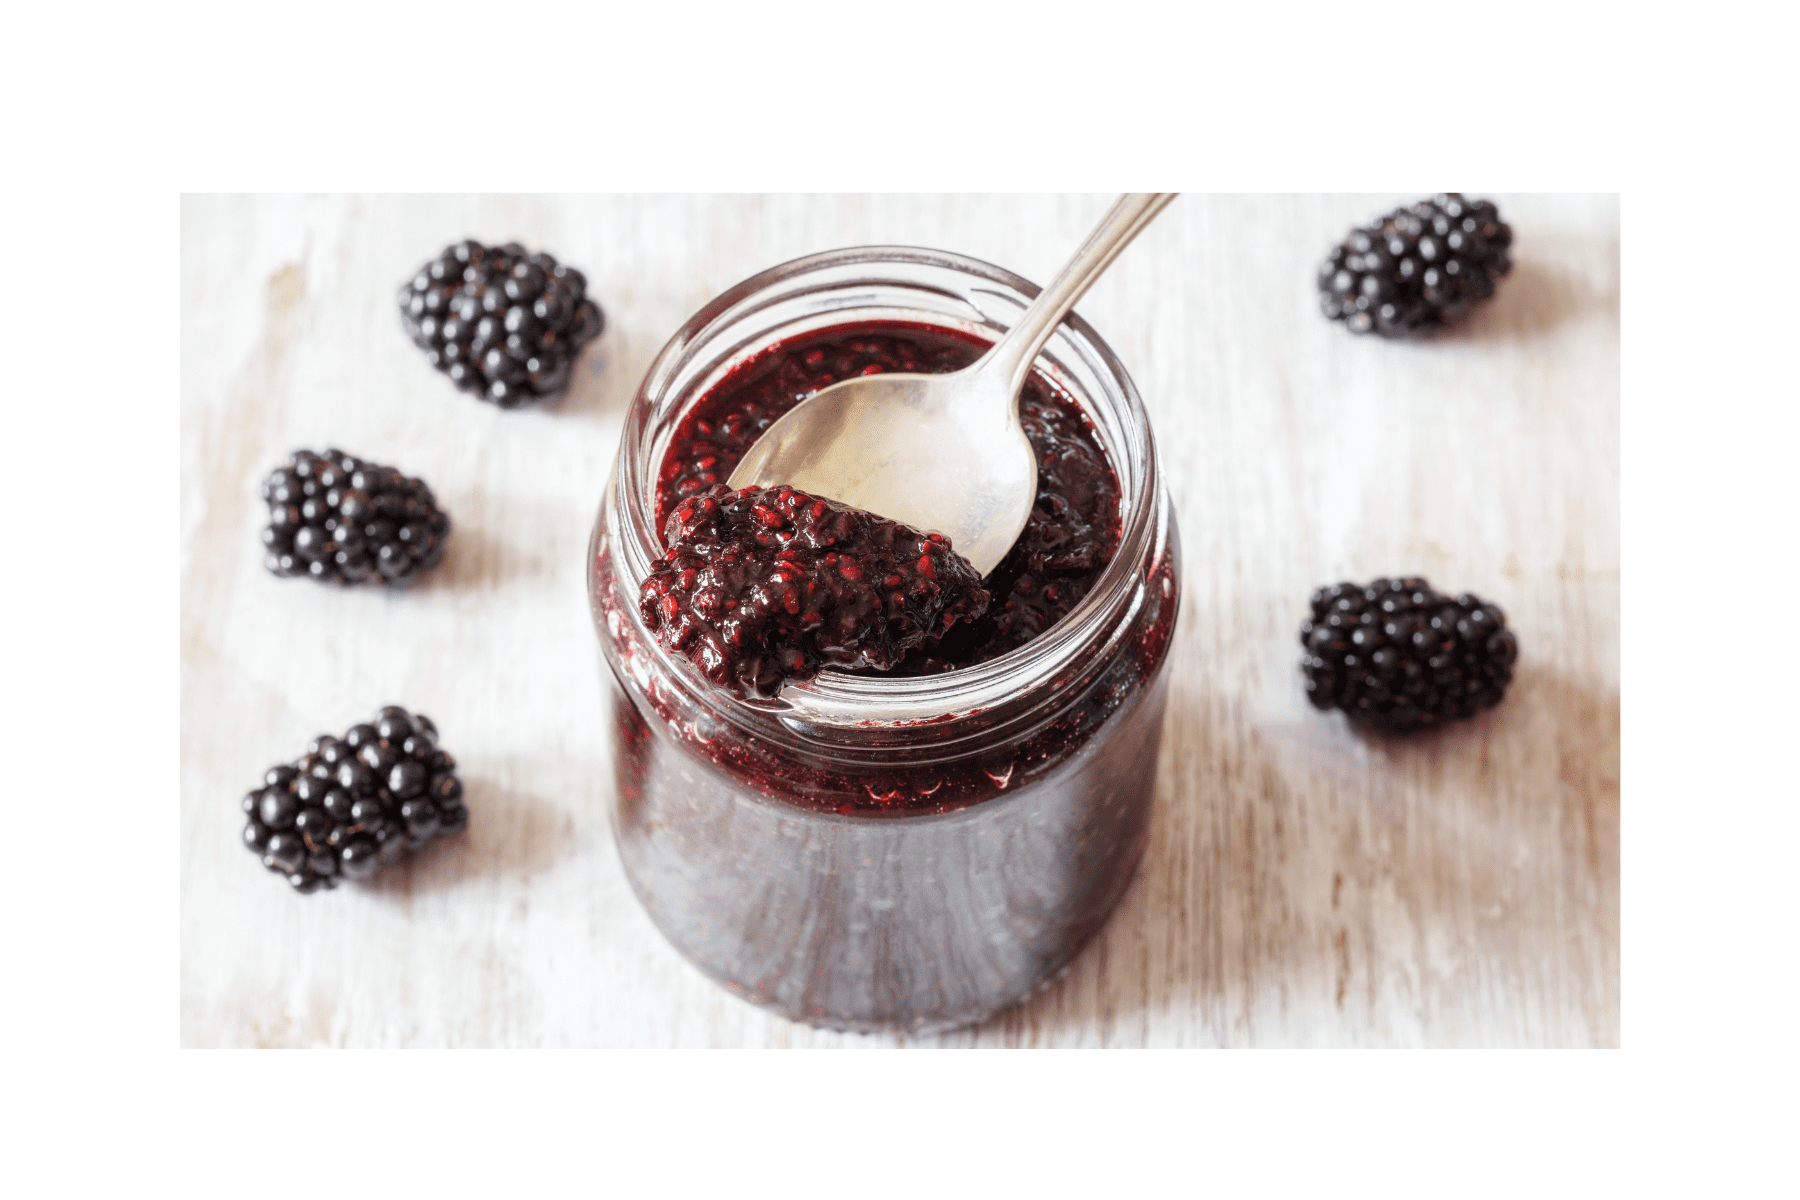
- 2 cups frozen berries
- 2 tbsp chia seeds
- 1 tbsp lemon juice
- Optional: honey or maple syrup to sweeten
The choice of berries is up to you. You can use a single type of berry or a mix, depending on your preference. The chia seeds not only provide health benefits but also help thicken the jam due to their ability to absorb liquid and form a gel-like consistency. Lemon juice adds a fresh tangy flavor that balances the sweetness of the berries. If your berries aren’t sweet enough, feel free to add honey or maple syrup.
Steps
Now that we have all our ingredients ready, let’s get down to making our Chia Jam:
Step 1:
Heat the frozen berries in a saucepan over medium heat. Stir occasionally to prevent the berries from sticking to the bottom of the pan. As the berries warm up, they will start to break down and release their natural juices. This process should take about 10-15 minutes. You can help the process along by mashing the berries with a fork or a potato masher.
Step 2:
Once the berries have broken down, add the chia seeds and lemon juice to the saucepan. Stir the mixture well to ensure the chia seeds are evenly distributed. The chia seeds will start to absorb the liquid from the berries and expand, giving your jam its thick consistency.
Step 3:
After stirring, let the mixture cook on low heat for another 15-20 minutes. Make sure to stir occasionally to prevent the jam from sticking to the pan. The jam will continue to thicken as it cools, so don’t worry if it looks a bit liquidy at this point.
Step 4:
Once the jam has reached your desired consistency, remove it from the heat and let it cool. You will notice the jam thicken further as it cools down.
Step 5:
After the jam has cooled to room temperature, transfer it to a spare glass jar. Seal the jar tightly and store it in the refrigerator. The jam will last for 2 weeks in the fridge.
And there you have it! Your very own homemade Chia Jam. This jam is great on toast, mixed into yogurt, or even as a topping for your favorite desserts. The best part is, you can make different variations by using different types of berries or by adding spices like cinnamon or vanilla. Happy cooking!